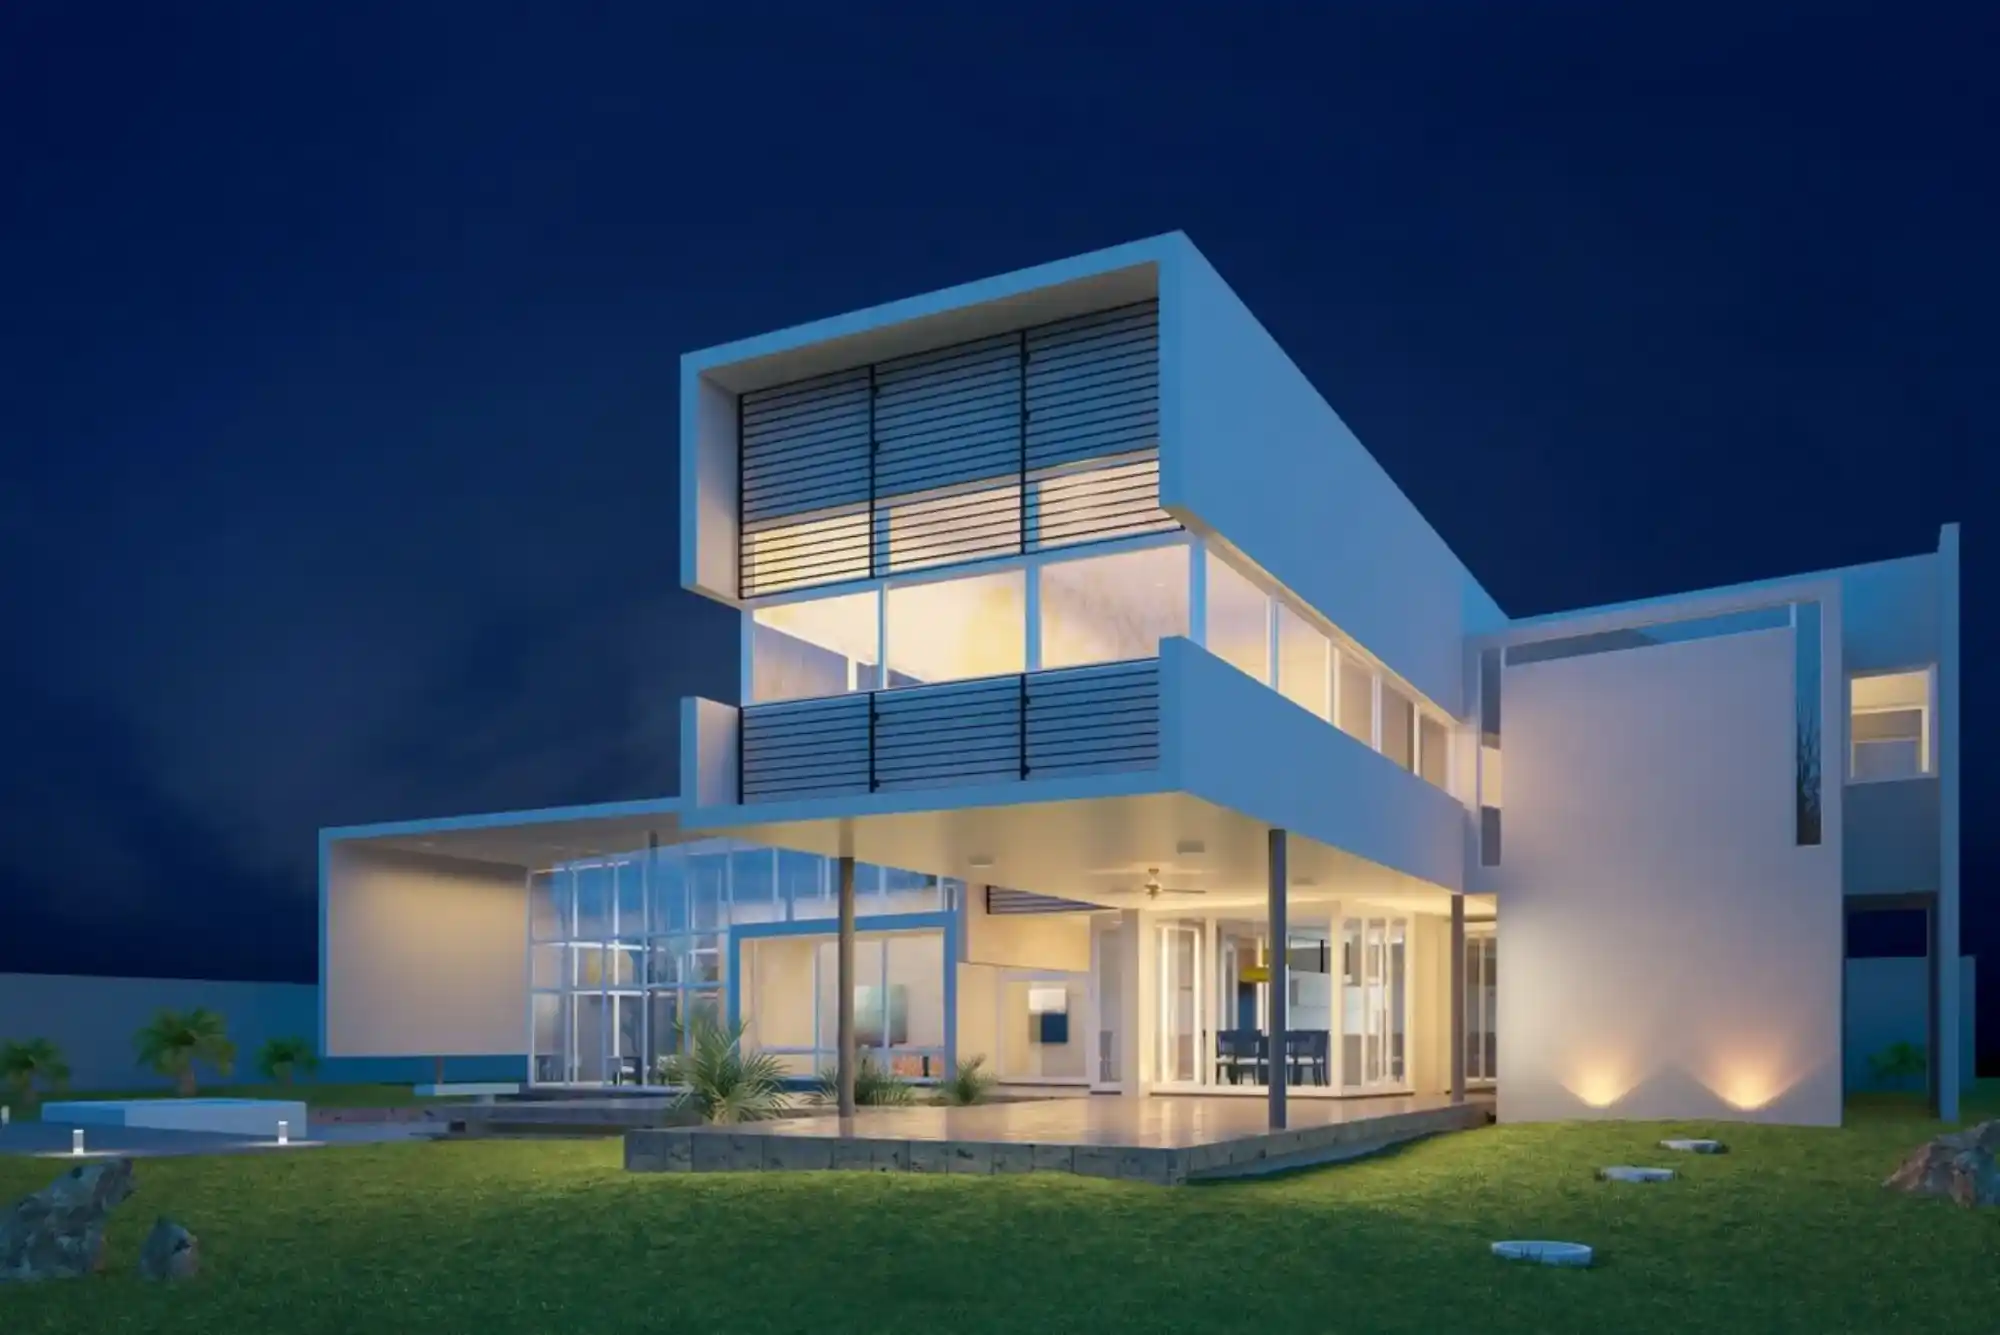
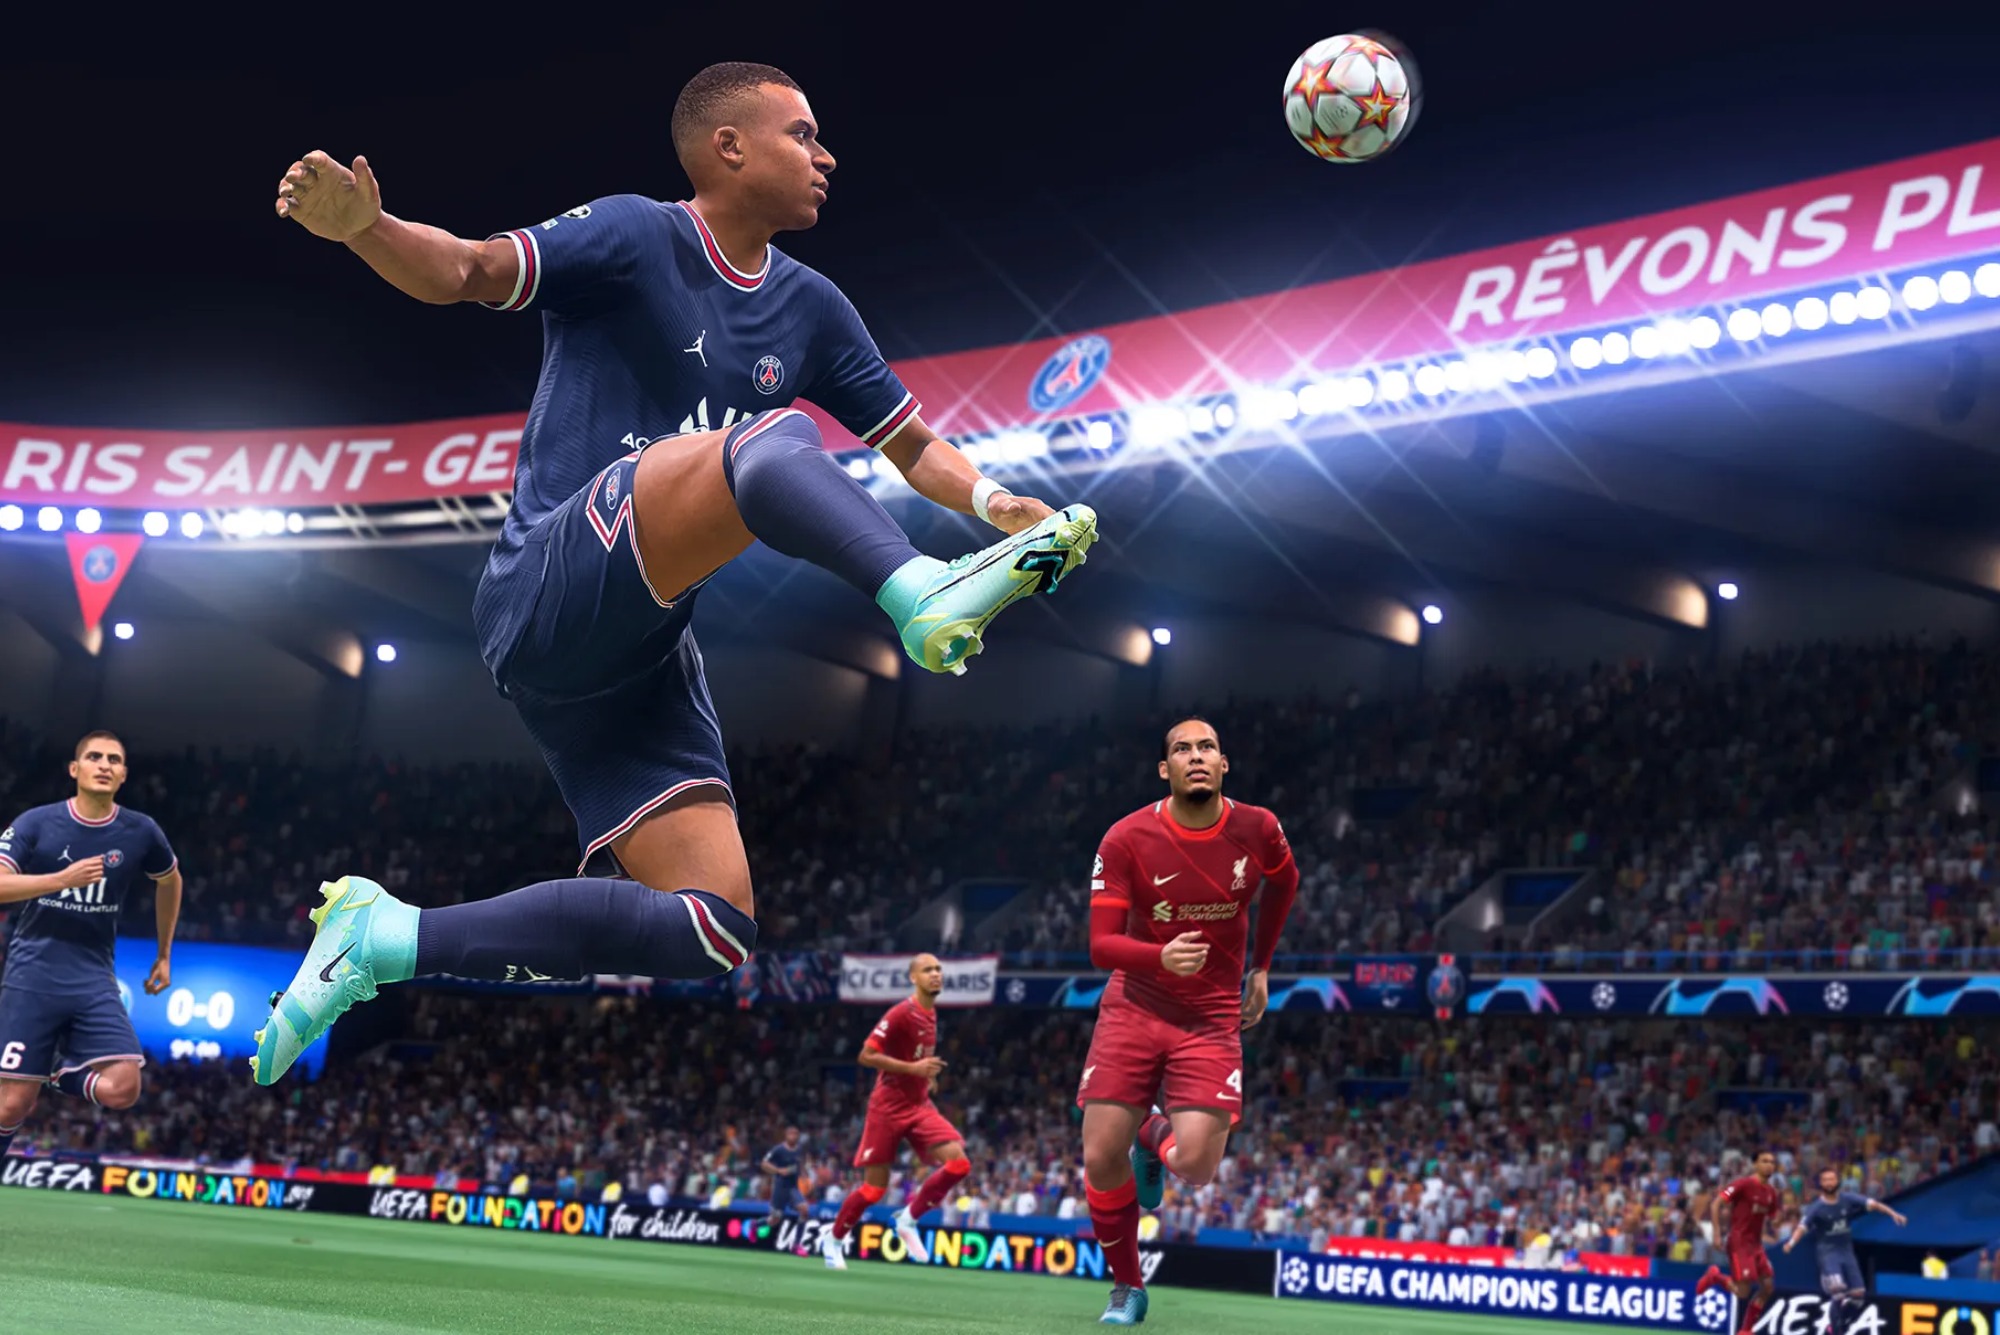
Creating realistic 3D visualizations is crucial for industries like real estate, architecture, gaming, and product design. It allows potential customers, stakeholders, or clients to experience the product or space before it even exists. In this article, we will explore the complete process of creating stunning 3D visualizations while keeping SEO best practices in mind. Let’s dive in to understand the steps, tools, and techniques involved in developing high-quality visualization 3D models with a special focus on property visualization.
Realistic 3D Visualizations
Creating realistic 3D visualizations requires combining artistic creativity with technical skills. Whether it’s visualizing a product, building, or an open landscape, the aim is to bridge the gap between the virtual design and reality. Professionals strive to ensure the visualizations look photorealistic, engaging, and precise to the smallest details.
According to 3D artist Steve Coleman:
“Photorealism is achieved when a viewer can no longer tell the difference between the rendered scene and a photograph.”
Importance of 3D Visualization in Various Industries
3D visualization is a game-changer across different industries. Here’s a list of fields where it has become indispensable:
| Industry | Applications of 3D Visualization |
|---|---|
| Real Estate | Property visualization, virtual home tours |
| Architecture | Building models, landscape design |
| Interior Design | Furniture and room layout visualizations |
| Gaming | Game characters, environments, and assets |
| Manufacturing | Product prototypes, machinery simulation |
Essential Tools for 3D Modeling and Visualization
Several tools are available to create realistic 3D visualizations. Below are some of the most popular ones:
Blender: Free and open-source software for 3D modeling and animation.
Autodesk 3ds Max: Great for architectural visualizations and high-quality renders.
SketchUp: Ideal for property visualization with intuitive modeling features.
Lumion: A visualization tool focused on architectural design and landscape renders.
Cinema 4D: Powerful software for motion graphics and advanced 3D animation.
Step-by-Step Guide to Create Realistic 3D Visuals

Follow these essential steps to develop professional 3D visualizations:
Conceptualization and Planning
Define the purpose of your visualization (e.g., property visualization or product demo).
Gather all reference images, blueprints, or floor plans to use as a guide.
3D Modeling
Create a basic structure of your scene using tools like Blender or 3ds Max.
Focus on modeling every element accurately (e.g., furniture, walls, or products).
Texturing and Material Application
Apply realistic textures (wood, metal, fabric) using texture mapping techniques.
Experiment with different shaders for glossiness, transparency, and reflections.
Lighting Setup
Use a combination of natural and artificial lights to add depth.
Set up HDRI (High Dynamic Range Imaging) lighting for outdoor scenes.
Rendering the Scene
Use rendering engines like V-Ray or Cycles for photorealistic results.
Adjust camera settings, focal length, and depth of field to mimic real photography.
Post-Processing
Add final touches using software like Photoshop for color correction and enhancement.
Include lens flares or motion blur effects to enhance realism.
Best Practices for Property Visualization
Property visualization is especially useful for architects and real estate developers. Here’s how you can make your property visualizations more effective:
Showcase Different Times of the Day: Create multiple renders (morning, evening, night) to give a realistic feel.
Include Furnished Spaces: Adding furniture and decor helps potential buyers visualize how the space will look.
Use Virtual Tours: Offer interactive 3D tours to increase engagement.
Highlight Outdoor Features: Showcase gardens, patios, or pools to enhance the appeal.
Common Challenges in 3D Visualizations (and How to Solve Them)
Creating realistic 3D visuals isn’t without challenges. Below are some common issues and solutions:
| Challenge | Solution |
|---|---|
| High Render Times | Optimize lighting and textures to reduce processing time. |
| Unrealistic Textures | Use high-quality textures from libraries like Quixel Megascans. |
| Poor Lighting Setup | Study photography lighting to set up natural-looking lights. |
| Software Crashes | Save your work frequently and use stable software versions. |
Tips to Optimize Rendering for Faster Results
Rendering high-quality 3D visuals can take hours, especially for large scenes. Here are some tips to improve rendering efficiency:
Use GPU Rendering: Graphics cards can speed up rendering compared to CPU.
Optimize Polygon Count: Simplify complex models to reduce the processing load.
Pre-light Your Scene: Set up lighting before applying materials to save time.
Batch Rendering: Render multiple scenes overnight to make the best use of downtime.
Utilize Cloud Rendering Services: Offload heavy rendering tasks to cloud platforms.
Highlighted Paragraph: Achieving Realism in 3D Visualization
To achieve photorealism, lighting, texturing, and material properties must align perfectly. Even a small misalignment in shadows or surface reflections can make a visualization feel artificial. Therefore, professionals recommend using HDRI maps and real-world textures to enhance realism. Additionally, experimenting with camera angles and depth of field adds a cinematic touch to your render.
Creating realistic 3D visualizations requires a combination of technical expertise, artistic vision, and the right tools. From property visualization to product prototyping, 3D visuals bring ideas to life and help clients experience them before they are built. By following best practices such as accurate texturing, optimized lighting, and GPU rendering, you can create stunning visualizations that meet industry standards.


